Themes & Appearance
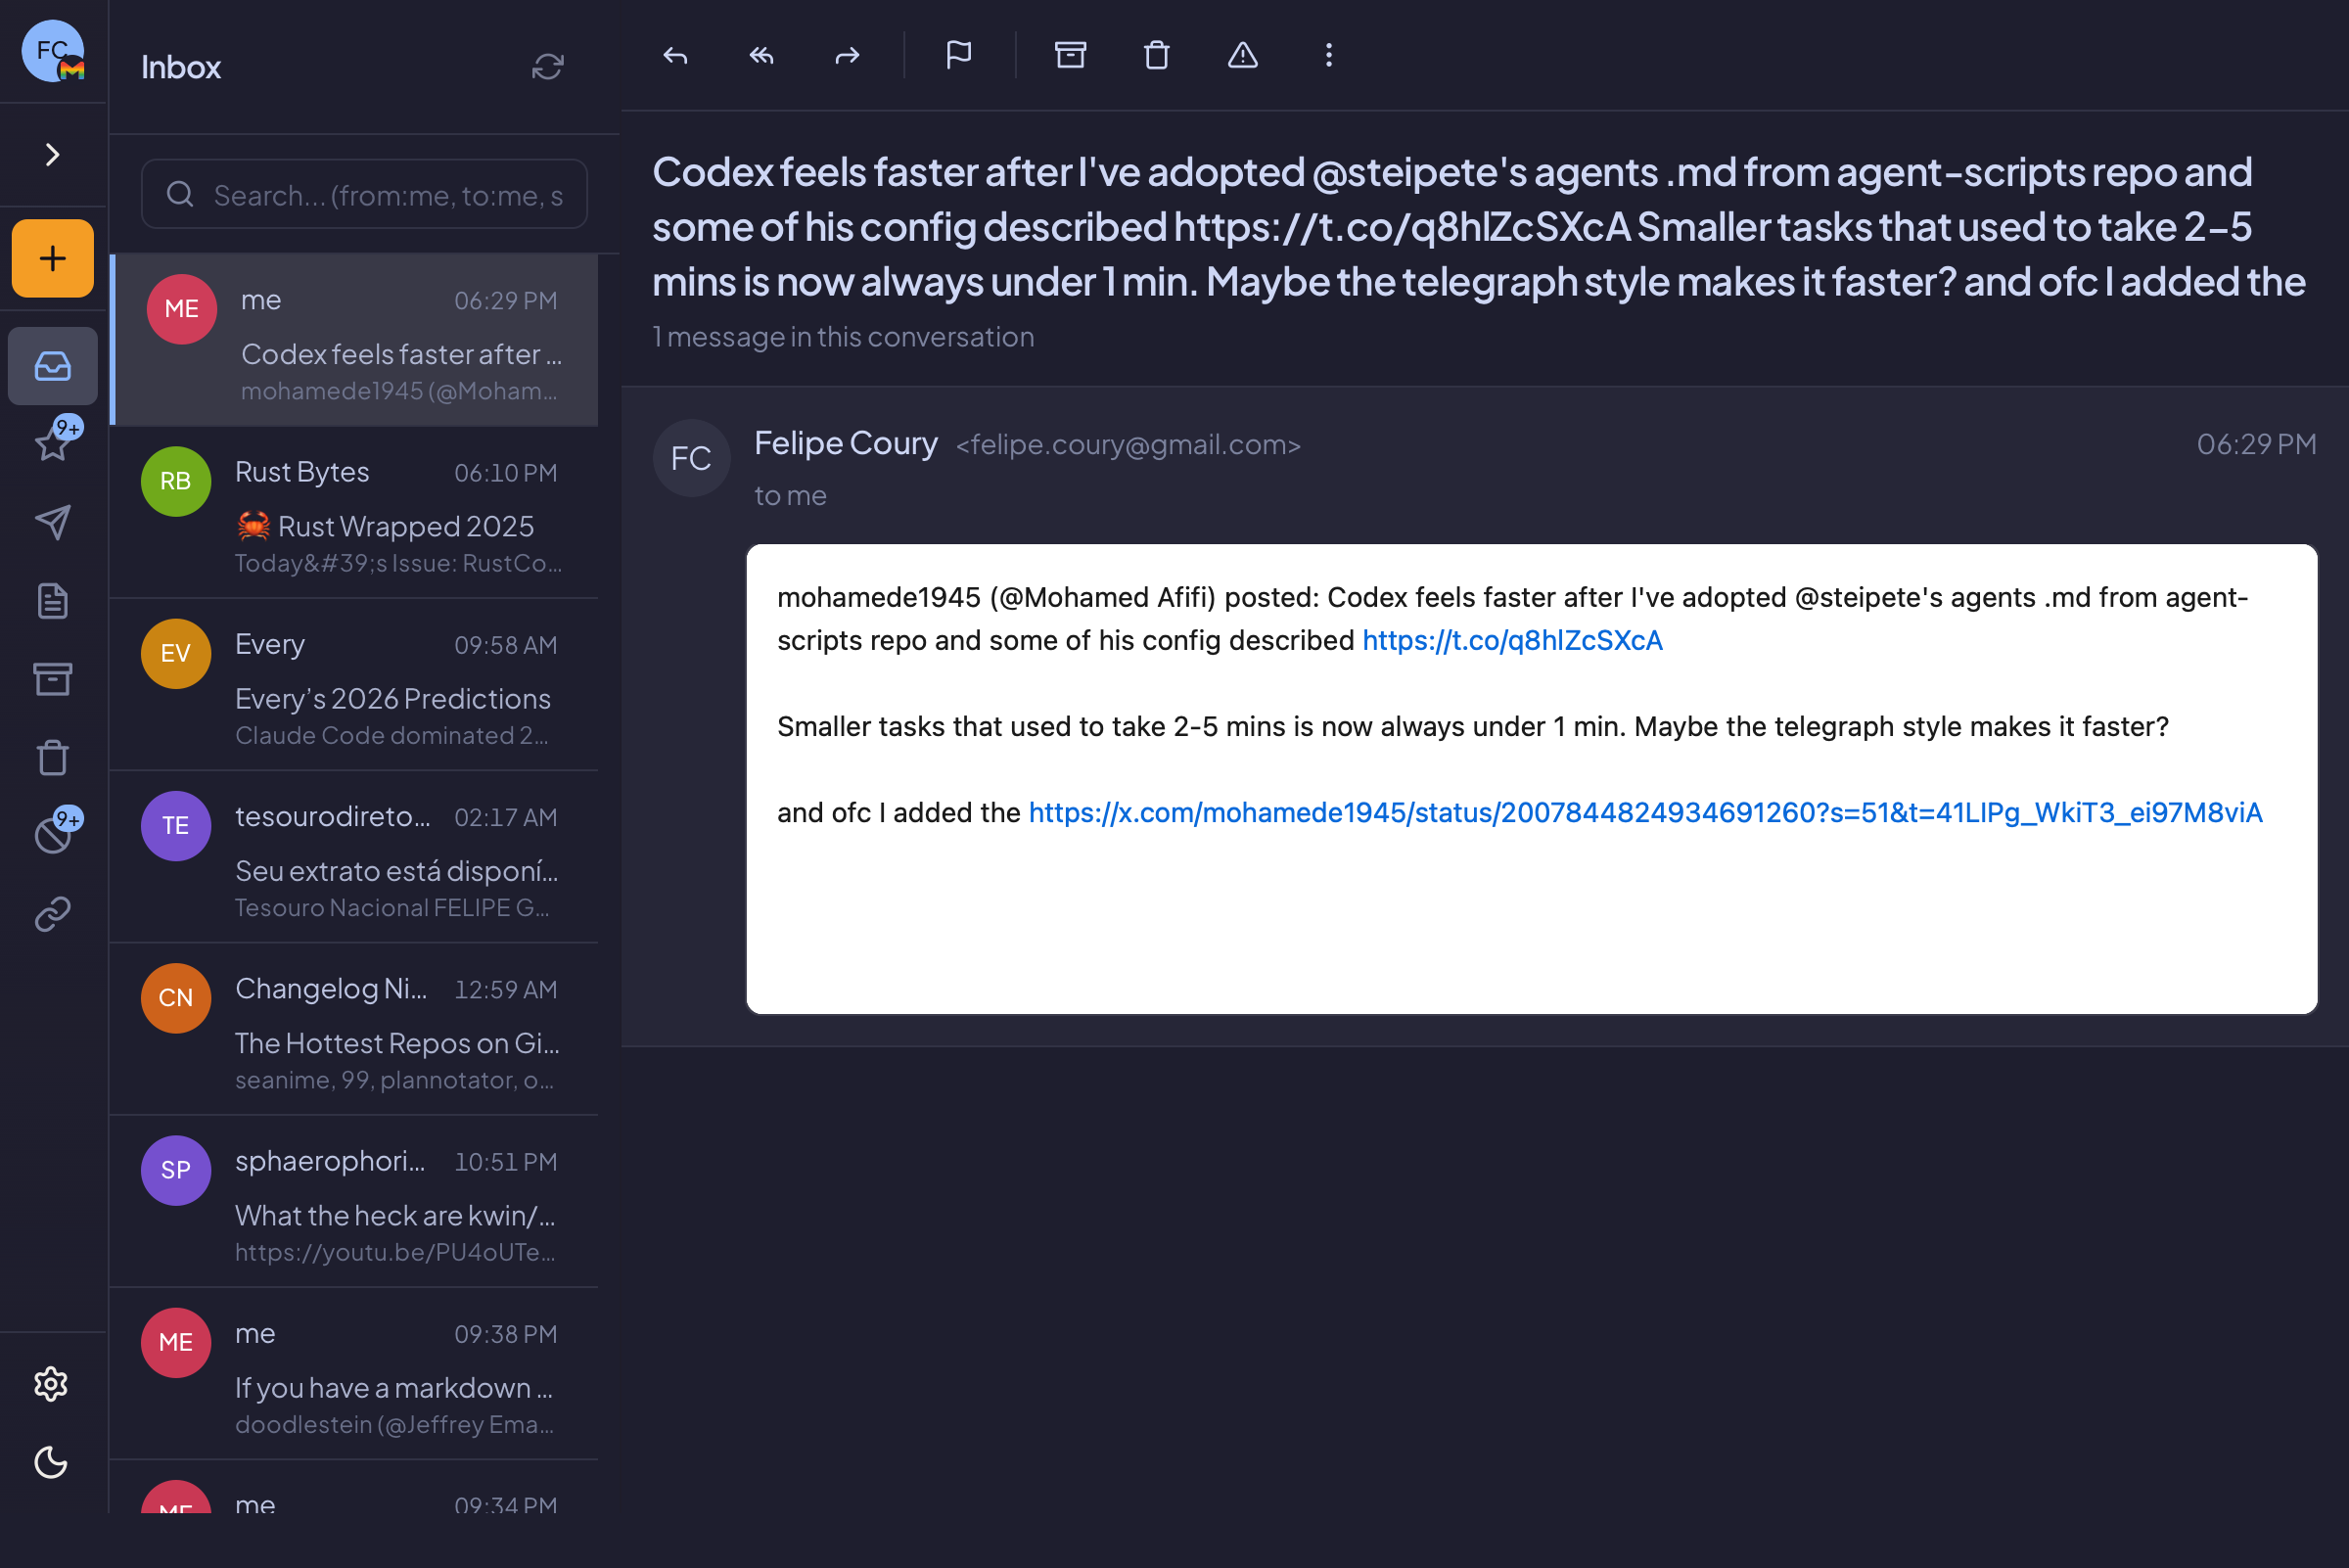
Personalize Gaivota's appearance to match your style.
Dark Mode
Gaivota supports both light and dark modes.
Switching Modes
- Open Settings (
⌘,) - Go to the Appearance tab
- Select your preferred mode:
- Light: Bright background, dark text
- Dark: Dark background, light text
- System: Follows your OS setting

System Theme
When set to "System", Gaivota automatically switches between light and dark mode based on your operating system's setting.
macOS: System Settings → Appearance Windows: Settings → Personalization → Colors Linux: Varies by desktop environment
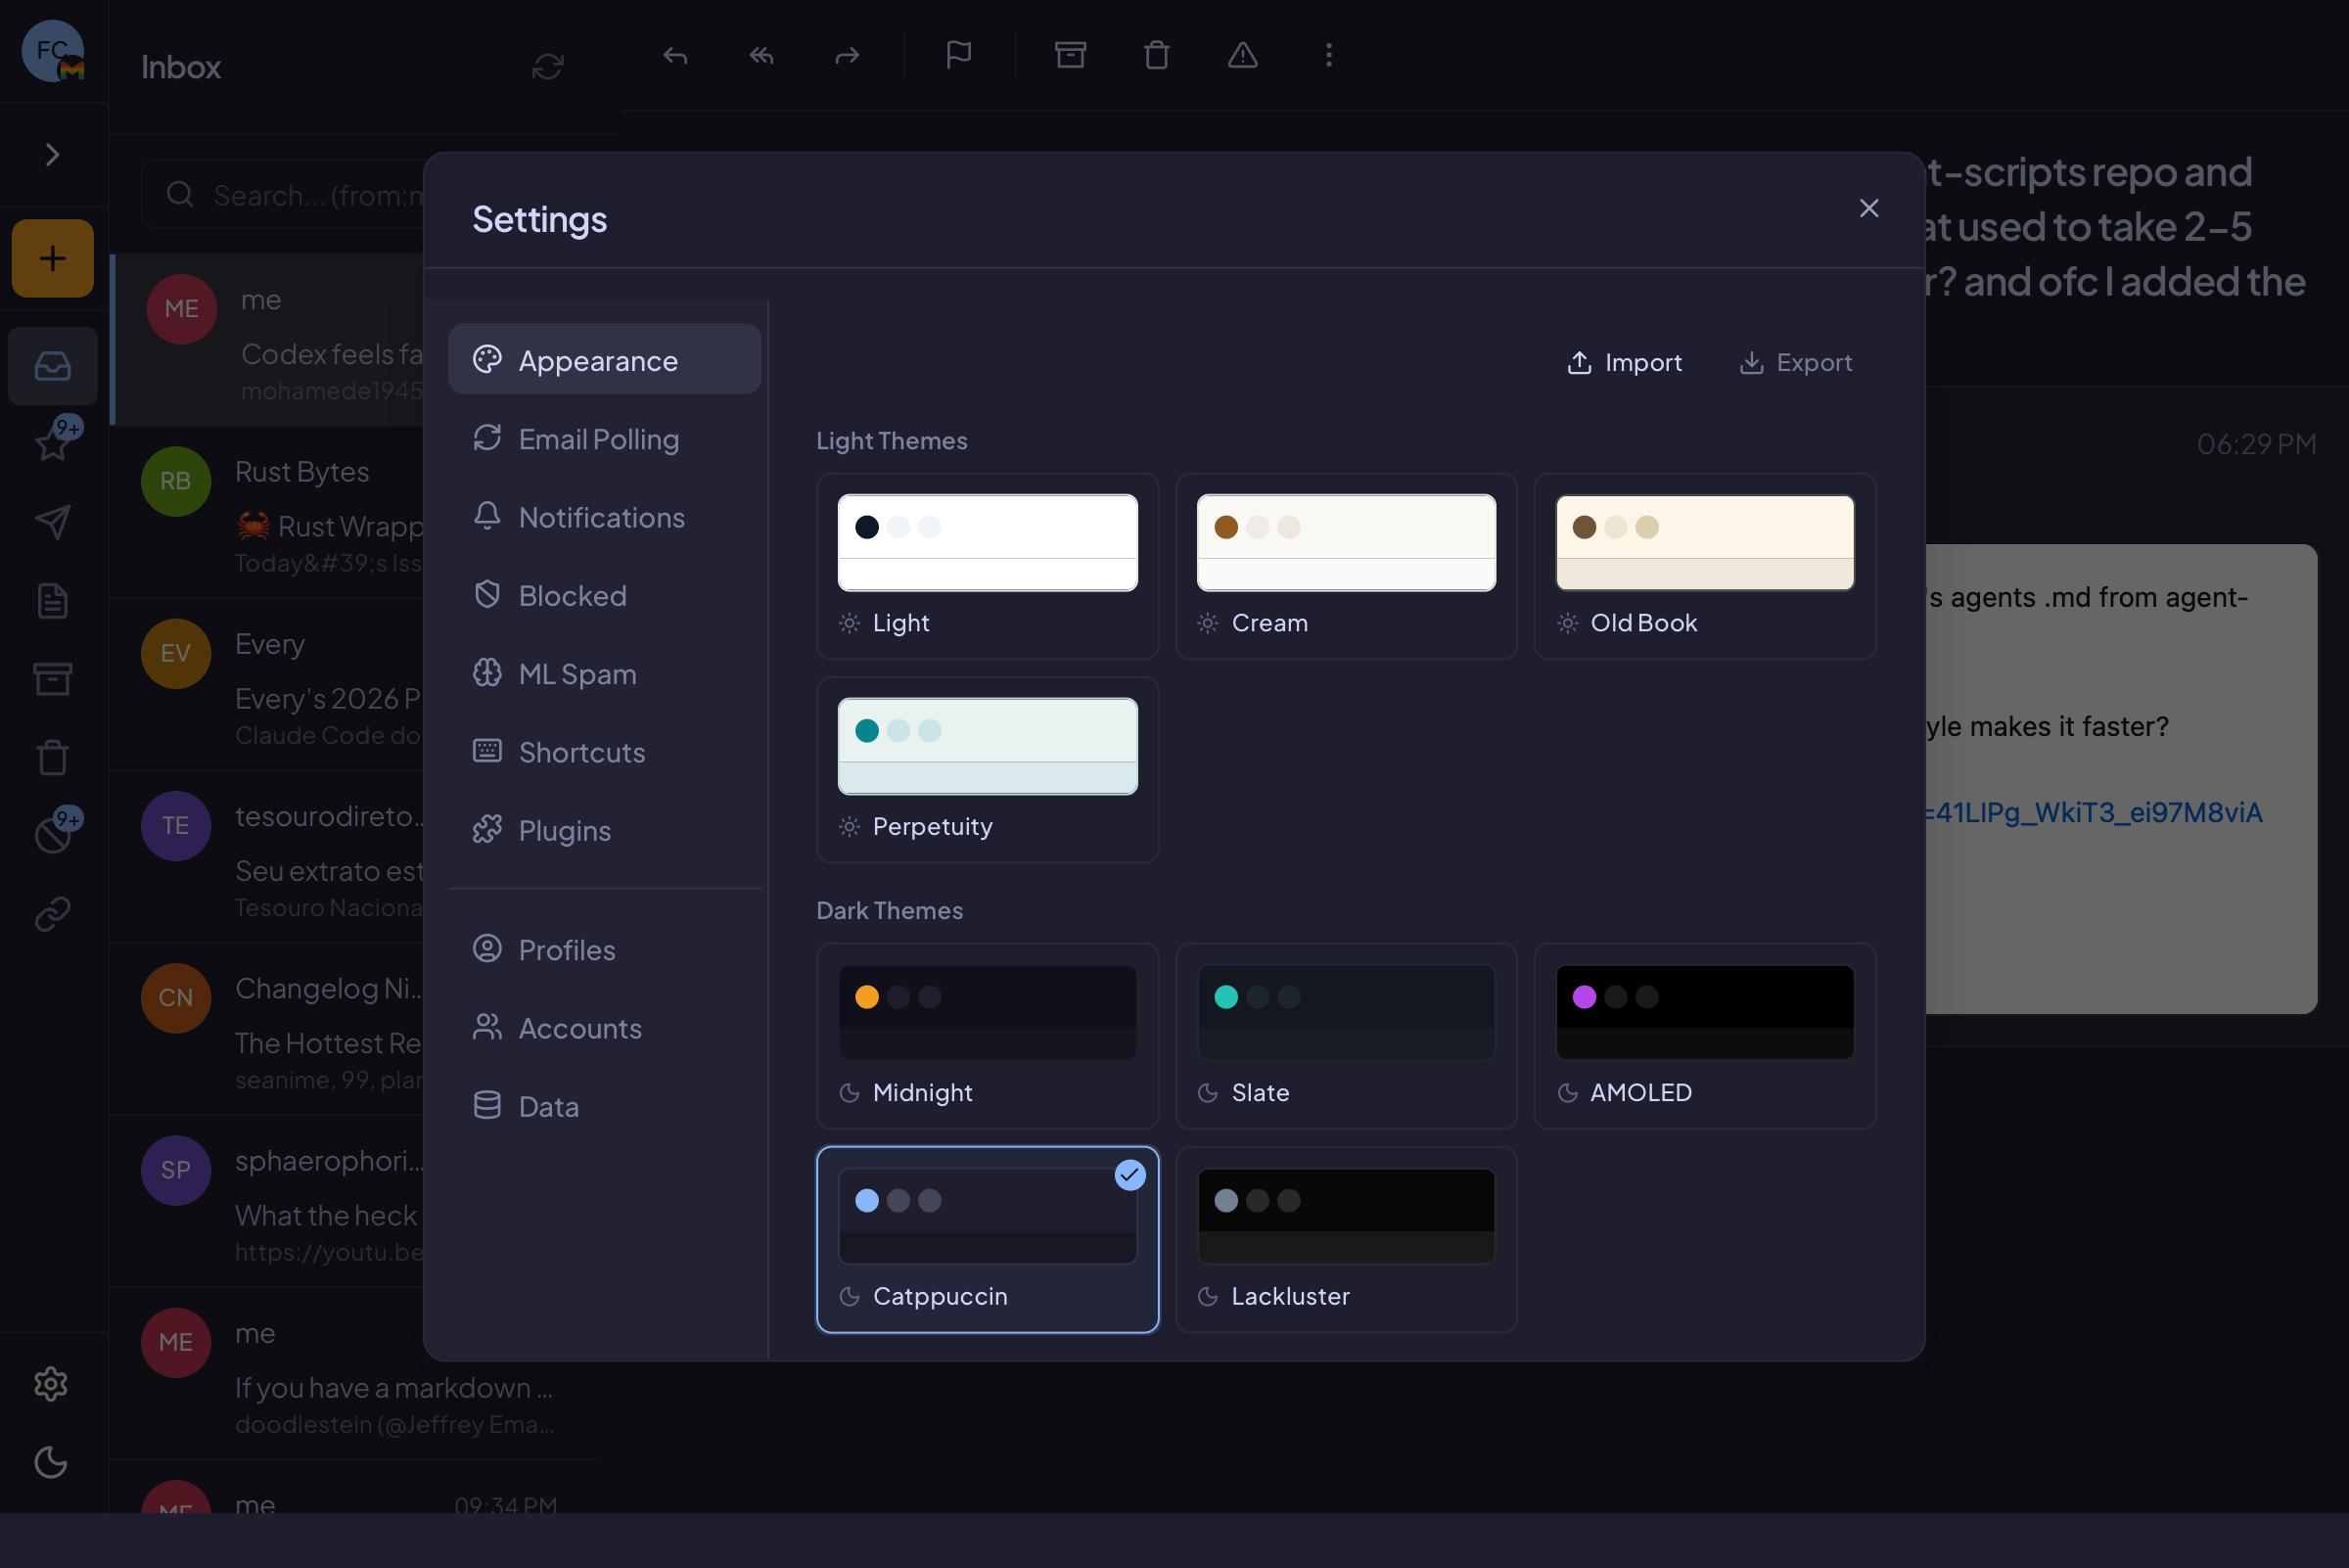
Theme Gallery
Gaivota includes several pre-built themes:
| Theme | Description |
|---|---|
| Default | Clean, neutral colors |
| Ocean | Blue-tinted interface |
| Forest | Green-accented theme |
| Sunset | Warm orange tones |
| Midnight | Deep purple dark theme |
Applying a Theme
- Go to Settings → Appearance
- Browse the Theme Gallery
- Click on a theme to preview
- Click Apply to use it
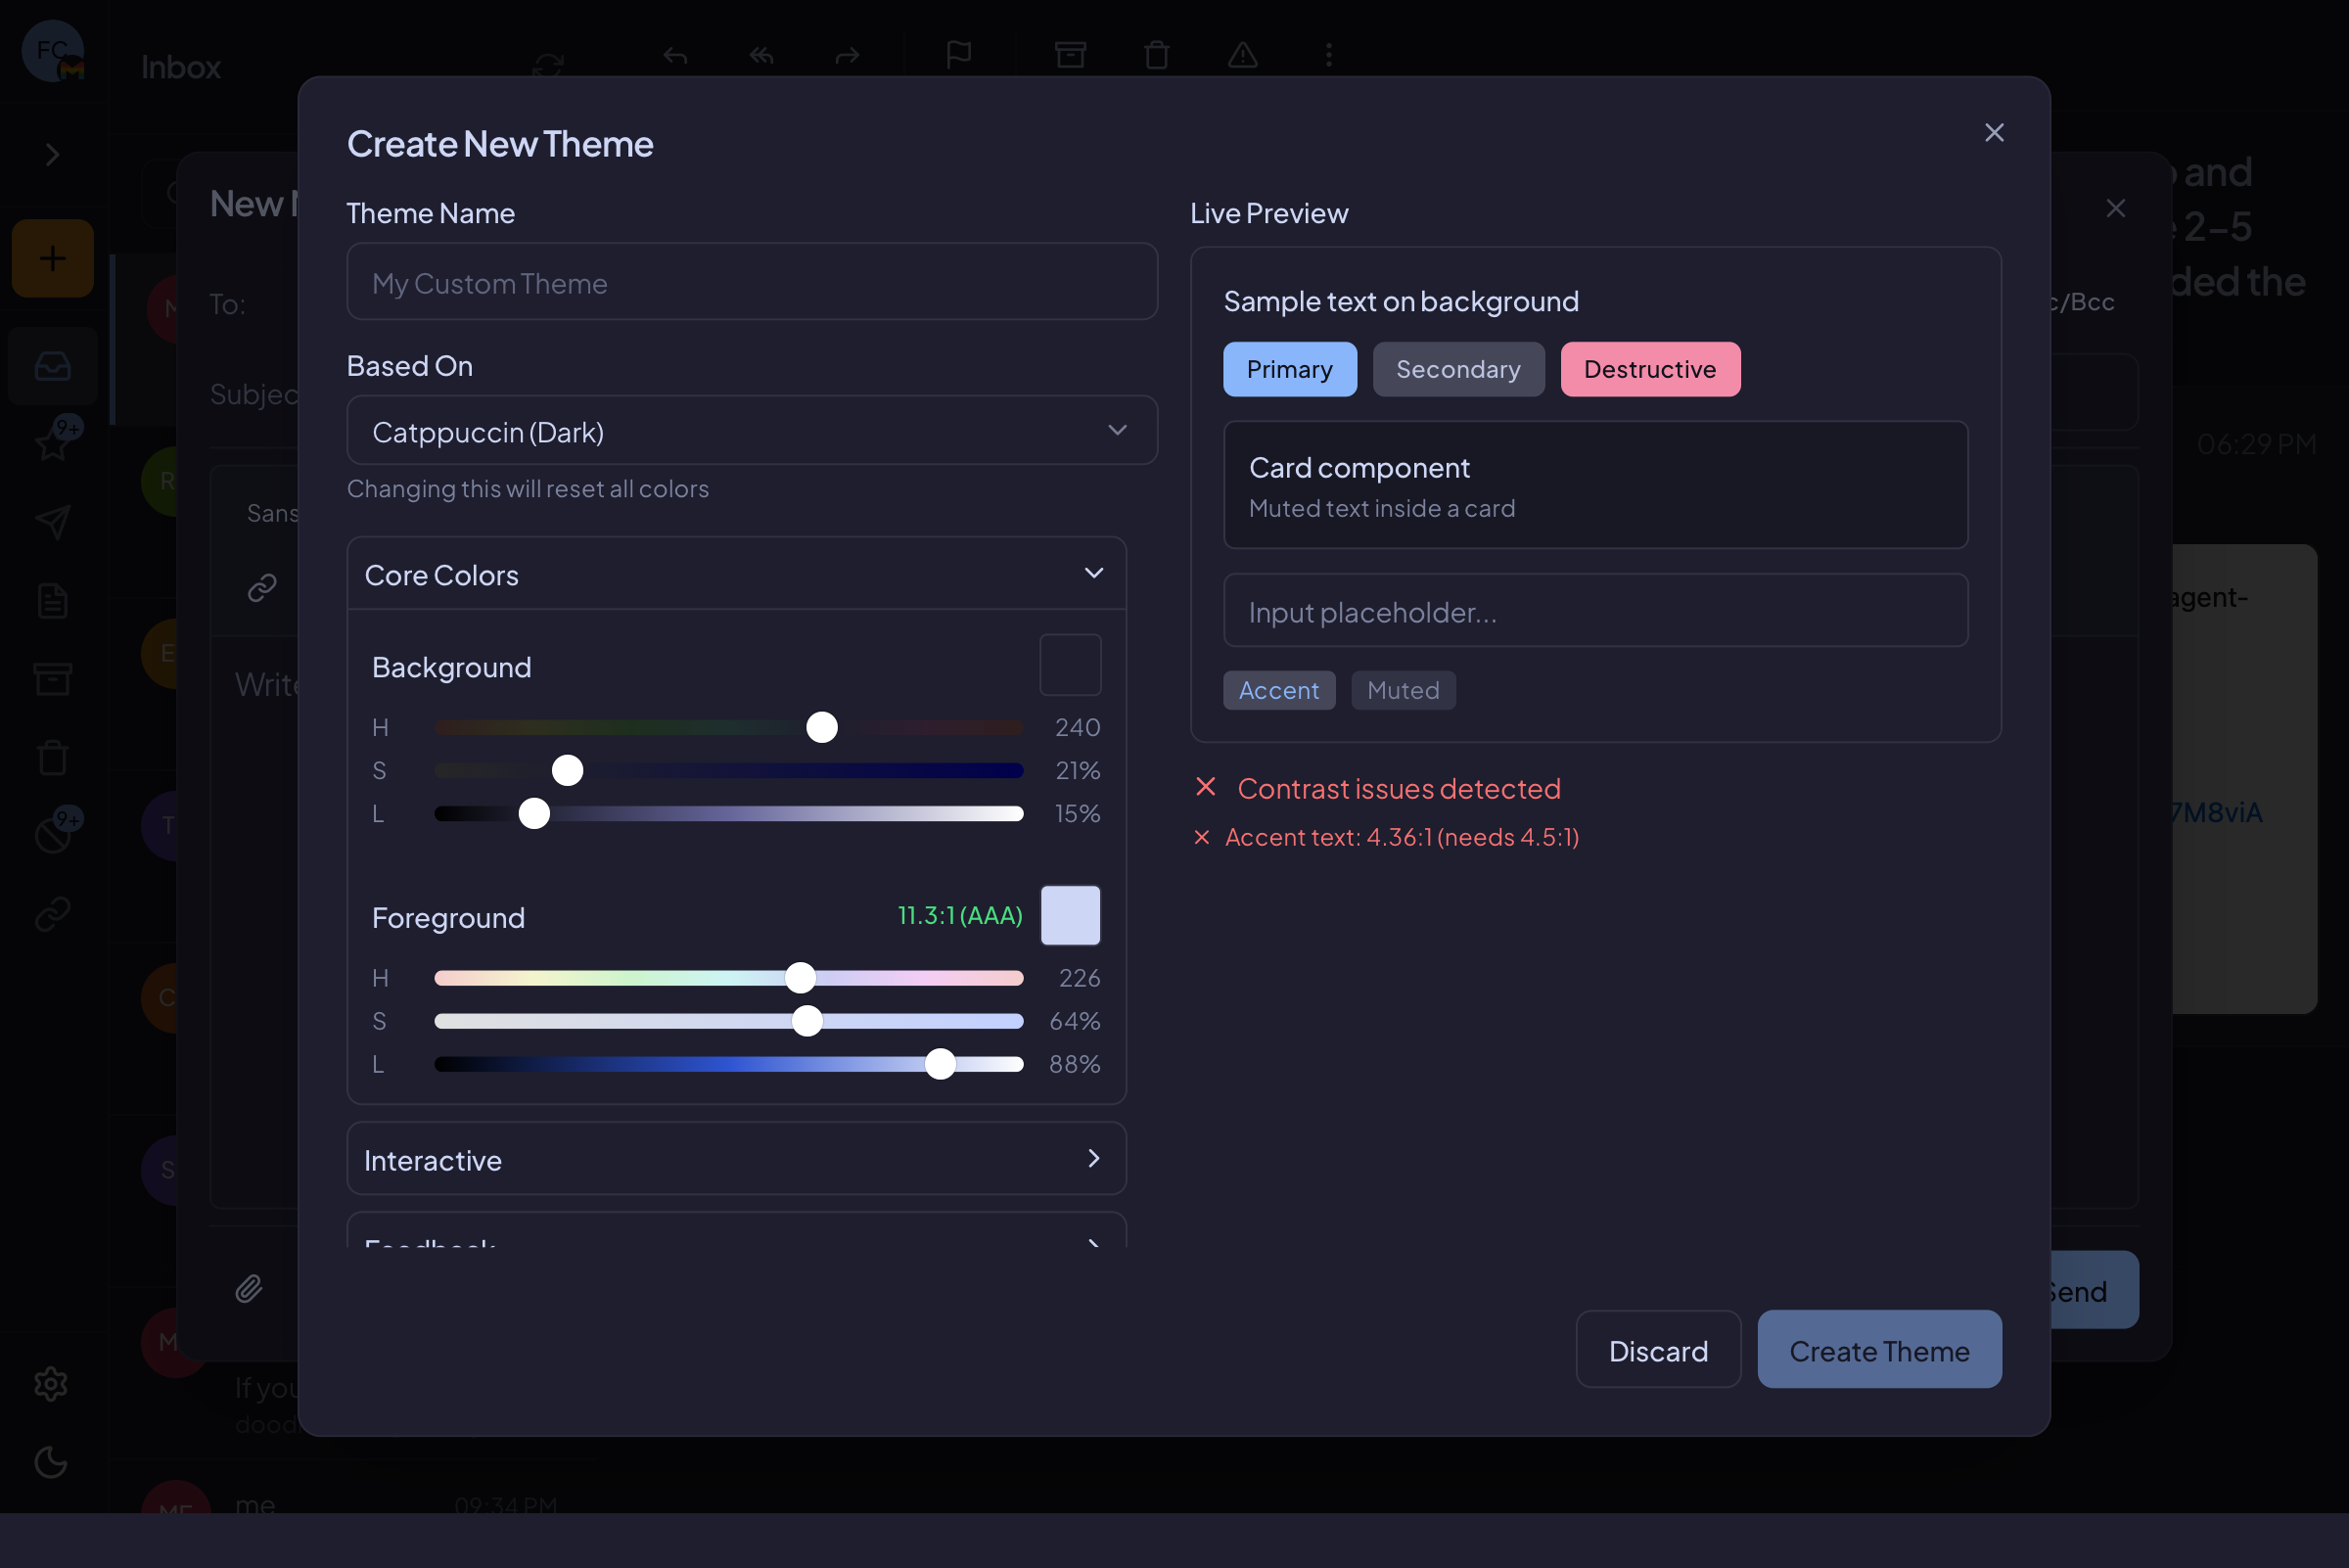
Custom Colors
Create your own color scheme:
- Go to Settings → Appearance
- Click Customize Colors
- Adjust colors for:
- Primary color (buttons, links)
- Background color
- Text color
- Accent color
Color Picker
Click on any color swatch to open the color picker:
- Use the color wheel for visual selection
- Enter hex codes directly (e.g.,
#3B82F6) - Adjust saturation and brightness
Saving Custom Themes
After customizing colors:
- Click Save as Theme
- Give your theme a name
- It appears in your Theme Gallery
Window Settings
Gaivota remembers your window preferences:
Window Size & Position
Your window size and position are saved automatically. Next time you open Gaivota, it opens exactly where you left it.
Maximized State
If you maximize the window, Gaivota remembers this too.
Reset Window
To reset window position to defaults:
- Close Gaivota
- Hold
Shiftwhile opening - Or delete the preferences file
Sidebar Appearance
The sidebar can be:
- Expanded: Shows full folder names
- Collapsed: Shows only icons
Toggle with the [ key or click the toggle button.
Email List Density
Adjust how much information appears in the email list:
| Density | Shows |
|---|---|
| Compact | Subject and sender only |
| Default | Subject, sender, preview snippet |
| Comfortable | More spacing, larger text |
Set in Settings → Appearance → List Density.
Font Size
Adjust the font size for better readability:
- Go to Settings → Appearance
- Use the Font Size slider
- Preview changes in real-time
Or use keyboard shortcuts:
⌘+to increase font size⌘-to decrease font size
Tips
Reducing Eye Strain
- Use dark mode in low light
- Use light mode in bright environments
- Consider "System" to auto-switch
Focused Work
- Collapse the sidebar for more reading space
- Use compact density to see more emails
- Choose a muted color scheme to reduce distraction
Accessibility
- Increase font size if needed
- High contrast themes available in gallery
- All themes tested for color contrast